Stranded with a lifeless battery in a deserted parking lot? Panic not, fellow motorist! Help might be a jumpstart away, but figuring out those positive and negative terminals can feel like deciphering ancient hieroglyphics. Fear not, for this guide is your Rosetta Stone to battery wisdom, ensuring you get back on the road with a charged-up attitude.
Color Clues, but Don't Rely Solely on the Rainbow:
Yes, typically red signifies positive (+), like a fiery beacon, while black symbolizes negative (-), lurking in the shadows. But what if your cables are faded or sporting neon hues? Don't fret! Backup clues await:
- Size Matters: The positive terminal often boasts a slightly larger physique, like the big brother packing more electrical punch.
- Symbol Savvy: Look for the plus (+) and minus (-) signs etched near each terminal, like secret decoder rings for your battery.
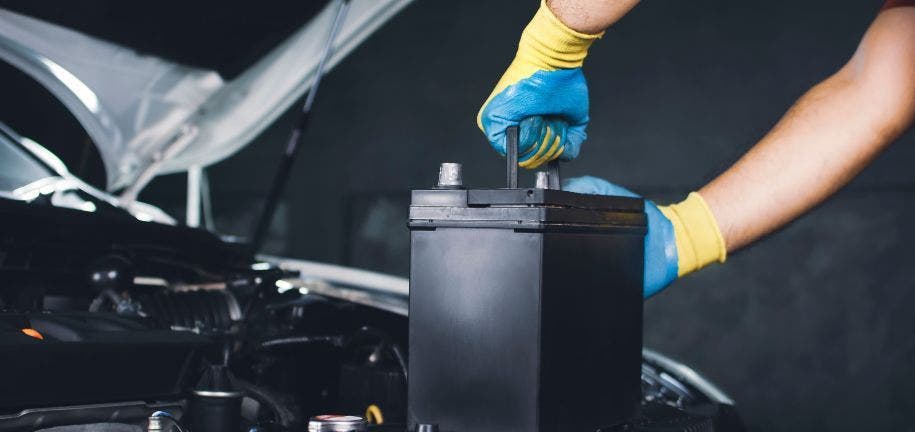
- Case Closed: The battery case itself might whisper the answer with embossed letters or symbols. "POS" for positive and "NEG" for negative leave no room for doubt.
Ready to Jumpstart? Buckle Up for Safety and Success:
Now that you've identified the terminals, it's time to channel your inner MacGyver and jumpstart that car back to life! Remember, safety first:
- Park both vehicles close together, but not touching.
- Turn off both engines and engage the parking brakes.
- Pop the hoods and locate the batteries.
Hooking Up the Cables: A Positive Chain Reaction:
- Grab the red (+ ) jumper cable and attach one end to the positive terminal of the good battery.
- Connect the other end of the red cable to the positive terminal of the dead battery.
- Now for the black (- ) cable. Attach one end to the negative terminal of the good battery.
- IMPORTANT: Don't connect the other end to the dead battery's negative terminal yet! Instead, find a bare metal surface on the engine block or chassis of the dead car - this is your grounding point. Clamp the black cable's other end to this point.
Double-Check and Power Up:
- Double-check all connections are secure and no cables are touching.
- Start the vehicle with the good battery and let it run for a few minutes.
- Try starting the car with the dead battery.
- If it starts, hooray! Let it run for 15-20 minutes to recharge the battery.
Disconnecting with Grace:
- With the engine of the dead car still running, carefully remove the black cable from the grounding point.
- Then, disconnect the black cable from the good battery's negative terminal.
- Unclamp the red cable from the dead battery's positive terminal.
- Finally, detach the red cable from the good battery's positive terminal.
Bonus Tip: Let the dead car run for at least 30 minutes to ensure its battery is properly charged. Drive around for a while to keep it topped up.
Still Stumped? No Shame in Calling for Backup:
Unsure? Consulting your car's manual or a trusted mechanic isn't a sign of weakness, but a smart safety measure. Remember, messing with batteries can be risky, so call in the pros if needed.
PartsHawk to the Rescue!
Whether you're a DIY dynamo or a cautious cruiser, PartsHawk is your one-stop shop for all things battery-related. They offer top-quality car batteries, cables, terminal protectors, and more, all at competitive prices. Plus, their expert advice and easy online ordering make maintaining your car's power source a breeze.